New Features
Version: 4.3.27.X
April 5, 2023
Compatibility with hard-wired satellite controllers:
This build will allow users to add a new interface compatible with hard-wired satellites such as the PAR+ES. When in the “Interface” section and you click on the “+” sign to add an interface, you will see a new choice available called “Satellite System”:
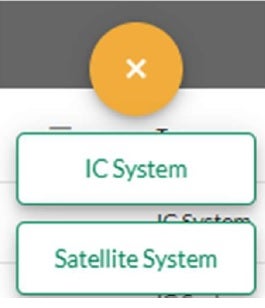
Once you have added this interface, you will be prompted to give it a name and the connection type. Once saved, you will be able to add satellites and stations. If you need more help for configuring your hardwired satellites, please reach out to our GSP Team at 1-866-477-9778.
Program Priorities
It is now possible to define priorities for your programs. Priorities can be set from 1 to 10, 1 being the highest priority. A program without a priority setting will be considered as having a priority of 11, meaning that any programs with a priority setting will be considered first.
To set priorities, go to the Programs screen. If you select a single program, you can change the priority here:
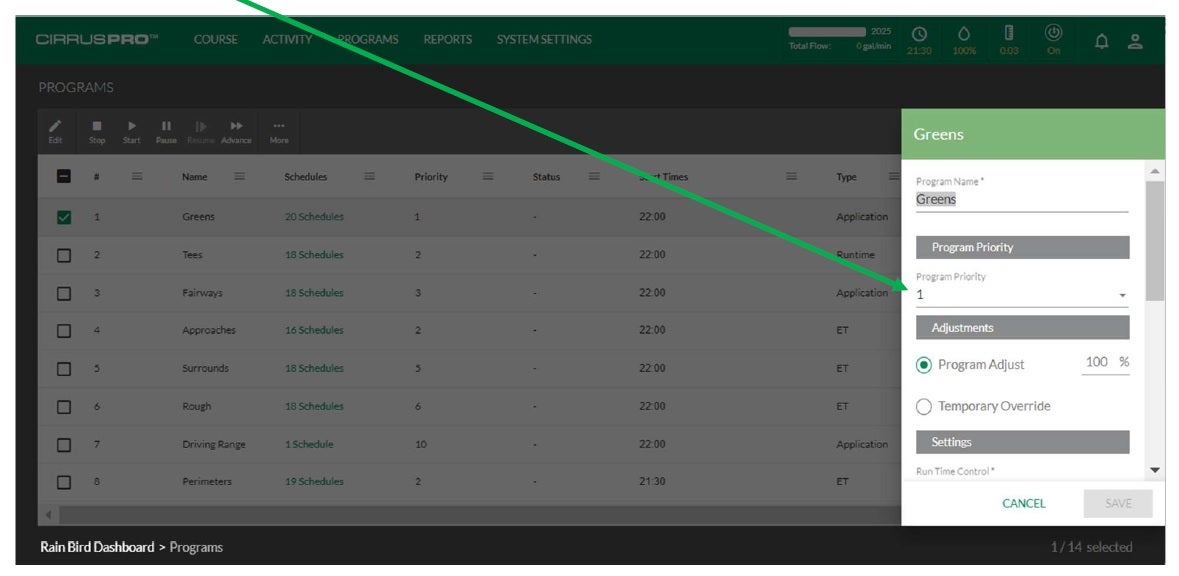
To set priorities to multiple programs at the same time, simply select the programs and click on the “Edit” button. The batch edit window will open, allowing you to select Program Priority.
Improved station pop-up display from the map:
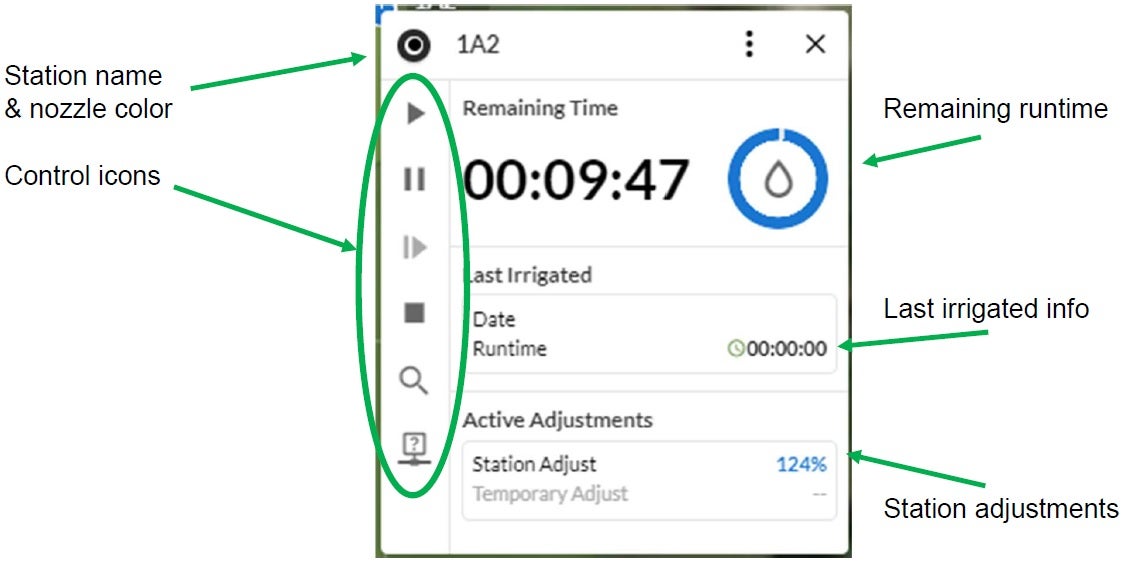
When clicking on a station from the map, an improved pop-up window will show up. This new pop-up informs the user with important details about the station:
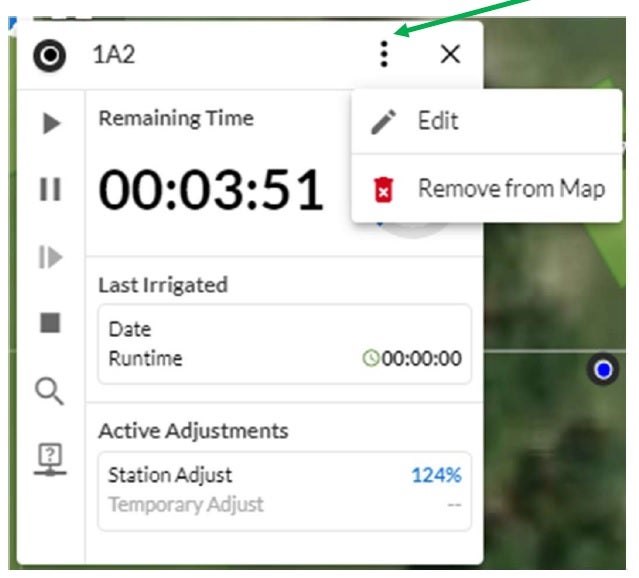
To edit data for this station, or remove it from the map, click on the three dots in the top right and a sub-menu will appear:
New Common Layers:
The latest map enables the user to select and display important station details right on the map, such as:
- Show rotor nozzle color: Enabling this will show a colored dot in the center of your station icon representing the nozzle color for that station.
- Show runtime adjustments: Enabling this will show colored chevron(s) in the bottom right of the station symbol. The number of chevrons represent the magnitude of the adjustment (1 for small, 2 for medium and 3 for large adjustment). The color of the chevron(s) represents if the adjustment is to increase the default runtime (when blue) or decrease the default runtime (when yellow).
- Show Cycle & Soak icon: Enabling this will show a symbol on the lower left side of the station symbol if there is a Cycle & Soak time defined for that station. Stations with no Cycle & Soak symbol means that there is no Cycle & Soak time defined for that station.
- Show runtime: Enabling this will result in the remaining runtime of an active station to be displayed on the map.
Landing Page selection:
It is now possible to select a preferred “landing page”. This allows you to select the first page you would like to see when you log on; your Dashboard or your Map. To select your landing page, go to your profile by clicking on the “person” icon on the left of the CirrusPRO Quick Access Menu:

Once in your profile, you will see a “Landing Page” option in the lower left:
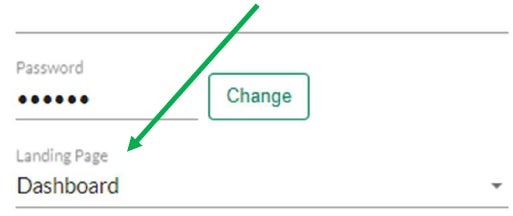
If you select “Map Page” and you have access to multiple courses defined in CirrusPRO, you will be asked to pick a course.